A language's editor shows how much of each content type is translated, and all its texts, with the original next to them. You open it from “Translations”.
Open it
- Go to “Translations”.
- In “Choose a language”, click the language's card. Under its name it says “Open the editor →”.
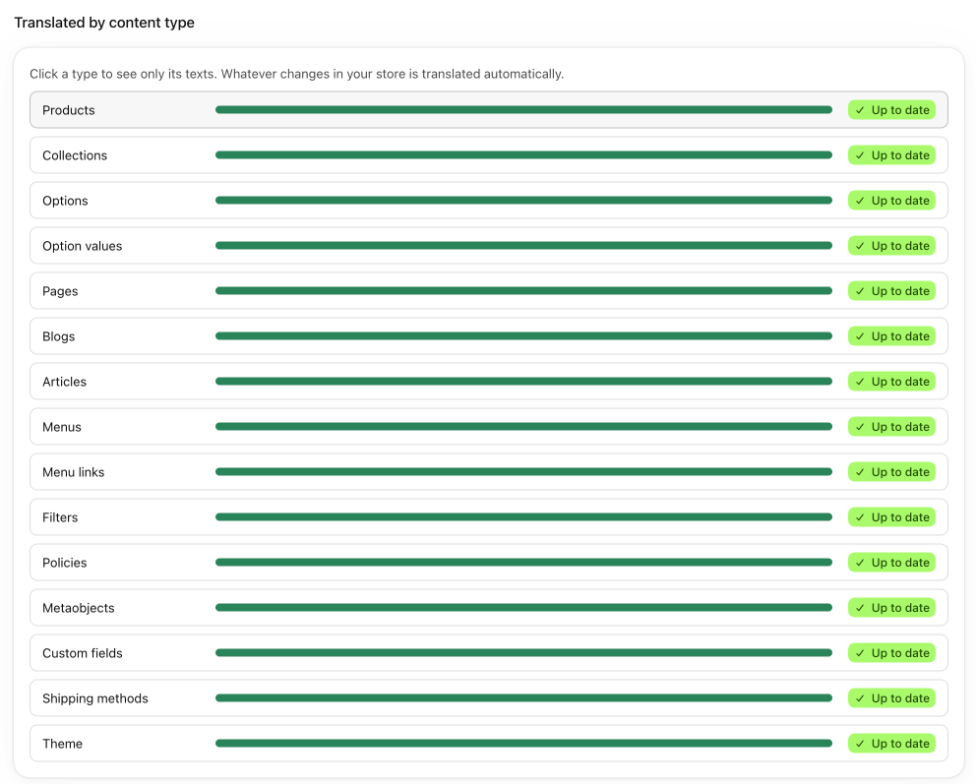
- At the top you see “Translated by content type”: one bar per type (products, collections, pages, theme…) with its percentage and how many texts are done.
- Below, in “Texts”, are that language's texts, 20 at a time. Move between pages with “Previous” and “Next”.
You can also get there from “Home” or from “Languages and markets”: on each language's card, click “View and edit texts”. With more than 3 languages, Home shows them in a list and the button is “View”.
Find a text in the editor
- In “Search”, type the name of a product, a collection, a page or an article. A theme key works too.
- With “Content type”, keep only one type, for example “Theme”.
- With “Status”, keep only “Automatic”, “Edited by hand or already translated” or “To review”.
Each text shows its name, the field, its status and the original. You change it in the “Translation” box and click “Save”, or you click “Translate again with AI”.
Click a row in “Translated by content type” to see only the texts of that type. Each row says “Up to date” or how many texts it's missing. If texts of that type are missing, a notice explains why they're not in the list.
Good to know
- The editor doesn't show emails, packing slips or Shopify's system texts, like the ones for checkout and the customer account: they don't count toward progress. What gets translated and what doesn't explains it.
- To see all of a product's fields together, with the AI buttons and the Google preview, open its page. You find it with the search in “Translations” (Find a text or paste a page URL) or in “Explore by type”, on the same screen.
- “Explore by type” lists every content type, including “Theme” and “Custom fields”.
- The statuses of a text explains what each badge means.